
The video shows batch-cut joints measured against a printed paper strip on the Guide Rail. With today's aluminium guide rails and their tee slot, it's simpler to use a metal ruler held in the slot. The acrylic cursor works the same way, with one advantage: mounting it at an angle alters the pitch, so you can vary the fit to leave a little more room for glue.
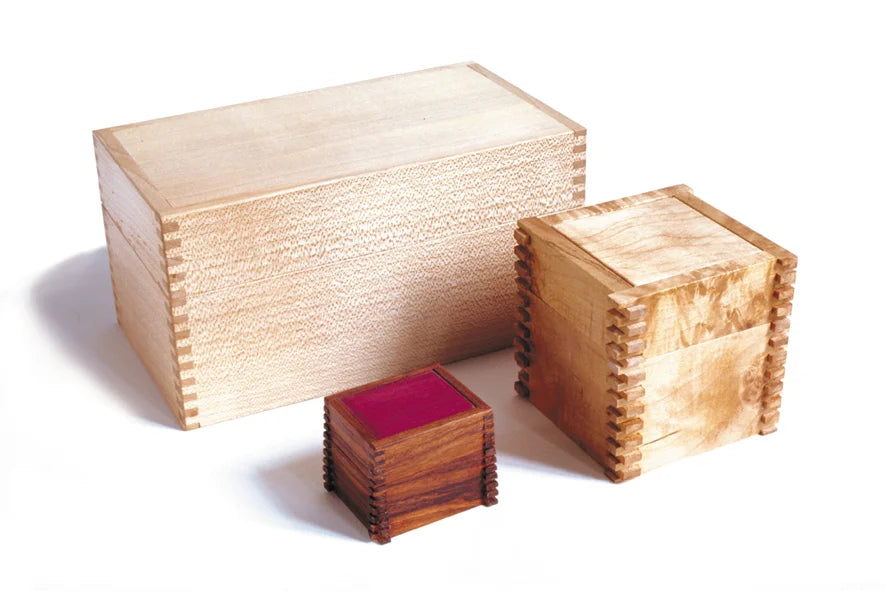
Box joints
You can make them one piece at a time, but it's far better to tape your pieces together and cut them as a block. Each piece protects its neighbour from tearout, and it's fast.
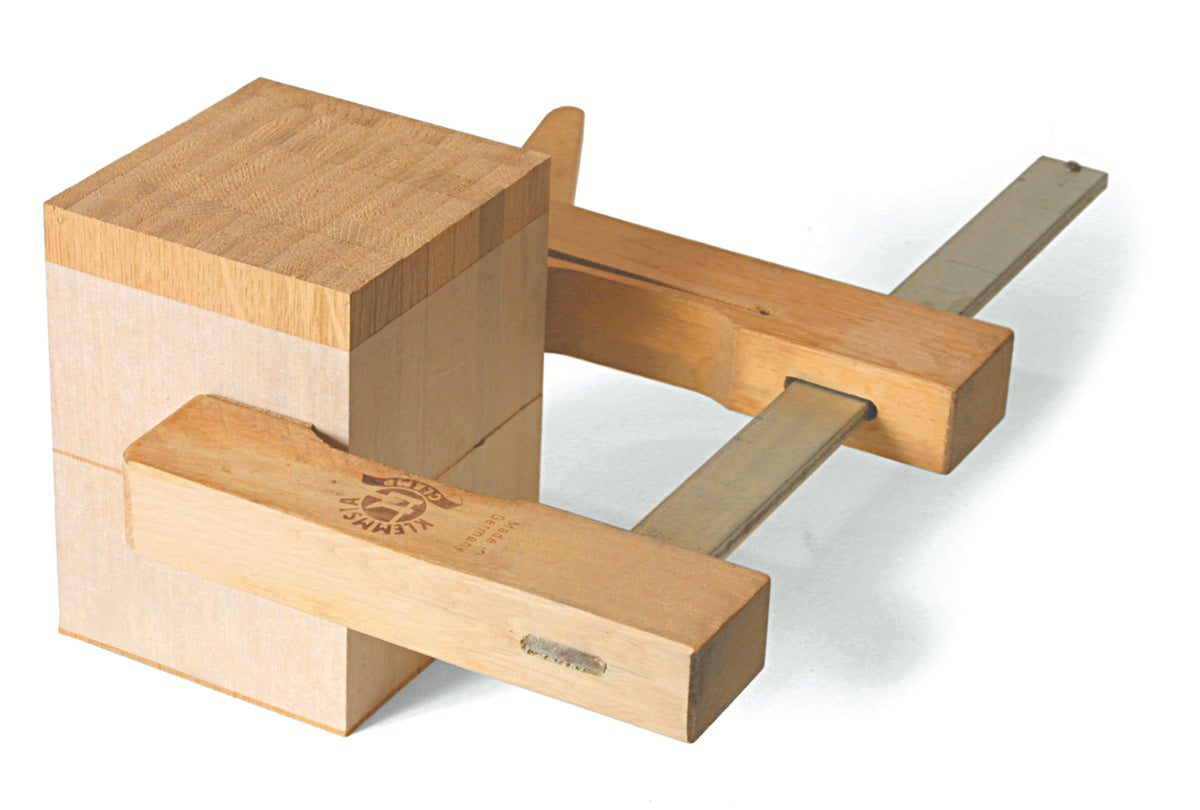
For anything small or tricky, run the joints through a solid block, then strip it through the bandsaw piece by piece, planing the face of the block between each cut.
For example, a 3mm cutter making smallish boxes cuts a stack tracked left and right, bringing the bit forward along the Guide Rail at 6mm intervals. That's easy to follow on a 6 inch ruler screwed to the right-hand Guide Rail.
The pieces might fit too tightly, as the pitch can be too exact, especially if the bit has been sharpened and is no longer quite cutting 3mm. That gives undersized sockets, oversized pins and no room for glue. The fix is to cant the scale on the Guide Rail by about 5°, so it reads a few percent under true. The sockets stay the same size but the pitch tightens, giving slightly smaller pins and an easier fit.
Using the Block (see tenoning), you can cut box joints with two bits of different diameter, giving joints of different sizes for an interesting variation.